About this time of year we always see a bit of a spike in our website traffic. Obviously being an energy saving website, as you might expect we get more website traffic during the cooler winter months than during the summer, but as we approach the end of the summer people begin to panic about the upcoming cooler weather.
Over the last couple of weeks, about 4,000 – 5,000 people are clicking through TheGreenAge every day in order to seek out important energy saving advice, so we thought it might be useful to provide a few simple housekeeping exercises, which are worth carrying out now prior to it getting cold to help ensure you are well prepared.
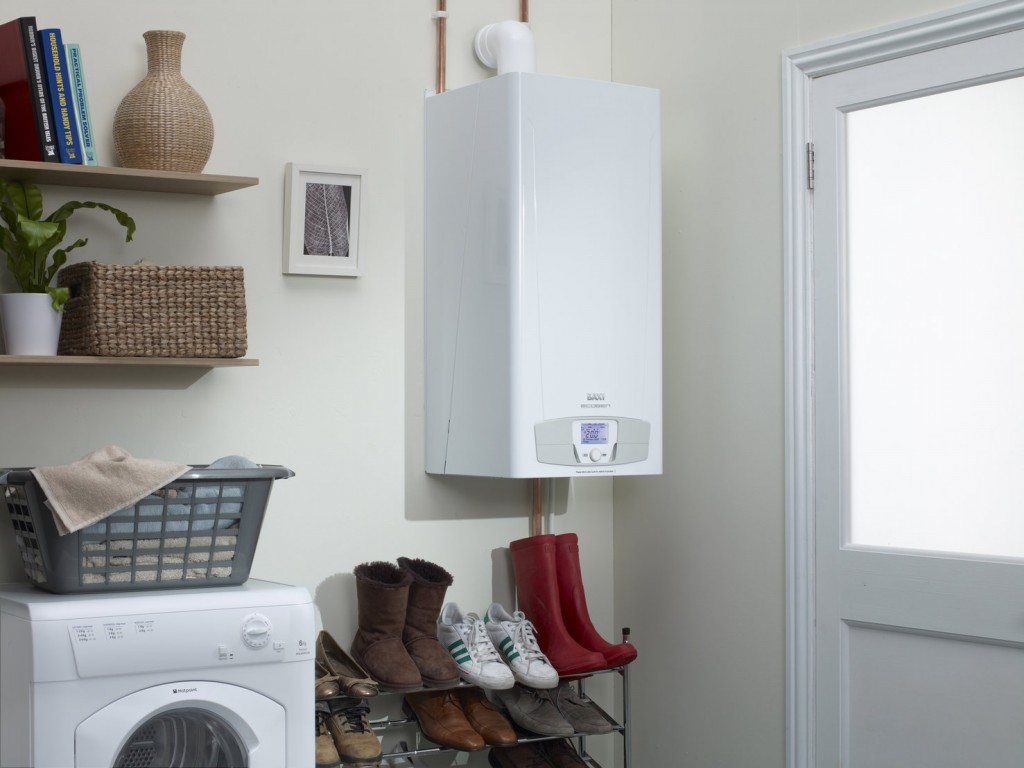
Check your heating now!
About this time, plumbers are counting down the days until the UK gets a cold weather snap. During the warm summer period heating engineers can generally put their feet up, as people get by with broken boilers by using the immersion heater on the hot water tank or even taking cold showers.
The first cold snap is when people normally fire up the heating for the first time since the last winter. This is when a partially functioning boiler tends to grind to a halt!
As if by magic…a heating engineers hourly rate also increases at this time!
Check your boiler before the cold comes!
We really do recommend getting your boiler checked now prior to the cold weather kicking in. Obviously there is still a chance it could break during December, but a boiler service now should identify any big issues so they can be sorted now – not when it is minus 1 degree outside!
If you are renting a property, a boiler service is a legal requirement once a year, so make sure you get this done now – this will mean if there is a problem the tenants will appreciate you have tried to sort the issue now rather than holding you at ‘rent ransom’ come the winter time.
Are your radiators working efficiently?
Aside from making sure the boiler is in great working condition, it is also a great time now to check your radiators are working full tilt. By turning the heating on in the home now, you can check if the whole of the radiator surface is getting warm. If not – it is likely that you are going to need to bleed the radiators – which essentially means you are going to let trapped air out of the top of the radiator, which allows hot water to occupy the entire internal space of the radiator.
Bleeding a radiator is really simple – you simply need to buy a radiator key and use this on the radiator valve (at the top of the rad) – or even buying yourself automatic radiator bleeders. Start by turning the heating off and allowing all the water in the system to cool – then using the radiator key, undo the radiator valve. You should here a hissing noise as the air is expelled out of the radiator to be replaced by water.
Once the water starts coming out of the valve, use the key to close it. We recommend using a towel when bleeding a radiator, but it can be done without as long as you are careful. Once the valve is all closed up, you can go and turn the heating back on and now the whole of the radiator should warm up – this is when it is operating at its most efficient.
Check your loft for insulation
Loft insulation is often said to be the cheapest energy saving solution for the home. A roll of loft insulation is about £30 from a DIY store, and if applied installed correctly in the loft space will help to produce a thick energy saving carpet above your ceiling.
[amazon_link asins=’B01MTCFQZU’ template=’ProductAd’ store=’the0c3-21′ marketplace=’UK’ link_id=’2816239e-113f-45bc-85b3-0064475c3d04′]The insulation stops heat moving out of the property during the winter months and also helps keep the home a more even temperature during the summer months too.
It is recommended that you get 300mm of insulation installed to maximise the energy savings and when we work with our clients now, it really is the magic figure we try to achieve.
However many lofts are boarded out (i.e. there is chipboard screwed directly in to the joists) – and these joists tend to be just 100mm high, so how then can you get sufficient insulation in the loft and still have a useable surface up there to store the Christmas tree and your suitcases?
Use loft lifters to maximise storage and efficiency.
Well the key to this is through the use of loft lifters – these clever gadgets can be used to raise the height of the joists therefore allowing you to squeeze in all that extra insulation, but better still, allowing you to still maintain that storage space.
>>> Learn more about loft lifters here <<<
A bit like boilers charging more during the colder months, the DIY store will also charge more for insulation during Autumn and Winter. If you were to walk in to B&Q today, you would be able to pick up 3 packs of loft insulation for the price of 2. So again, while it is not going to help too much in terms of energy saving right now, being able to save a third on the cost of the materials if you do the job now (i.e end of summer) means it is probably worth doing.
When you do insulate your loft, bare in mind that once the cold weather does hit, there is going to be very little hot air escaping the liveable space in your home up into the loft so it is going to be extremely cold. As such it is important a) to insulate any cold water tanks and pipes you have up there and b) to not store any priceless pieces of art or anything that could get damaged in extreme cold.
Simple draught proofing in your home
We have seen many people try with varying levels of success to draught proof their homes as a DIY project. Places include door flaps, windows, chimneys and floorboards.
Obviously cold draughts can appear from pretty much anywhere, but in terms of advice, hit the big draughts first.
So firstly if there are open fires in your home – block them. This can involve a DIY paper in plastic bag effort (although unadvised in case you forget it is there and light the fire) or a chimney balloon or chimney sheep. Our preference to be honest is the chimney sheep purely because they don’t need re-inflating over time. Make sure you get the right size for your chimney and try to remember they are there before lighting any fires – they need to be removed prior to having a fire.
[product_box_ecostore title=”CHIMNEY SHEEP” url=”http://www.theecostore.co.uk/eco-store/chimney-sheep/” price=”FROM £14.49″ image=”http://www.theecostore.co.uk/wp-content/uploads/2014/08/Screen-shot-2014-08-12-at-12.25.07.png”][/product_box_ecostore]
Next floorboards – this doesn’t really impact those with solid floors, but many homes here in the UK, especially older properties were built with suspended timber floors. If this is the case, a product like Draughtex can be applied between the floorboards to stop cold draughts entering the home. Likewise a rug can be applied over the floor to help cold draughts enter and in extreme cases you may wish to lay carpet on the floor to stop the draughts.
Finally around windows – this is where we see most people test their DIY skills. Draught proofing windows is hugely difficult to do properly. Professional draught proofing involves nailing draught proofing strips in the correct orientation to stop the cold air entering the home. Unfortunately lots of DIY jobs we see entail people using the incorrect products or simply not knowing where the draught proofing strips should go.
Our tip here is really simple – if you are going to have a go draught proofing the windows in your home yourself read the instructions really carefully. If you have a door or window at home that you open all the time even during the winter months, it probably isn’t worth trying to DIY draught proof it because no doubt the draught proofing will fail fairly quickly.
Our top tip – act now before it gets cold!
So there you have it, a few simple things you can do to help prepare your home before the cold weather sets in. All of these are pretty simple to do, but should really help limit the impact of the cold weather. Even though we are still in August, you should try and schedule a weekend to get this all done.
For more information on how to save money throughout winter read this blog from TheEcoStore HERE: