There are a couple of reasons why you might want to remove render. Depending on what you are precisely after, either getting wet render or tidying up existing render, then this blog will actually try and address those points. We have thought about problems encountered by our readers, whether on a current project or refurbishment. Here is a comprehensive list of things to do if you come across those scenarios.
Let’s start with a current project you or your builder may be working on. Now, there is nothing worse than getting those render stains on that newly-laid patio or onto your newish double glazed windows. If you have ever tried to scrape off dried render, it can be a nightmare. And if you are not careful, can leave marks, especially on glass or fragile surfaces. We have a few ideas as to how to remove render.
A solution for render spilled on a surface
Messy render can look awful, and some workmen seem to get as much on the floor as they do on the walls. Despite even the best laid protection, render always seems to find a spot to drip onto! Having worked with experienced rendering and external wall insulation contractors, we have seen a few solutions in our time. If whoever rendered your house has let it drip onto the pavement below, we have found that ETICS Gold works best to remove render stains and spillages.
Etics have perfected their formula for render removal. It’s non-toxic, eco-friendly and Food Safe certified and works on almost any surface: concrete, brickwork, plastic, metal and wood. The gel or liquid is left on the stain for 10-20 minutes and then scrubbed. The process can be repeated until you are happy with the result.
Remove existing render the traditional way
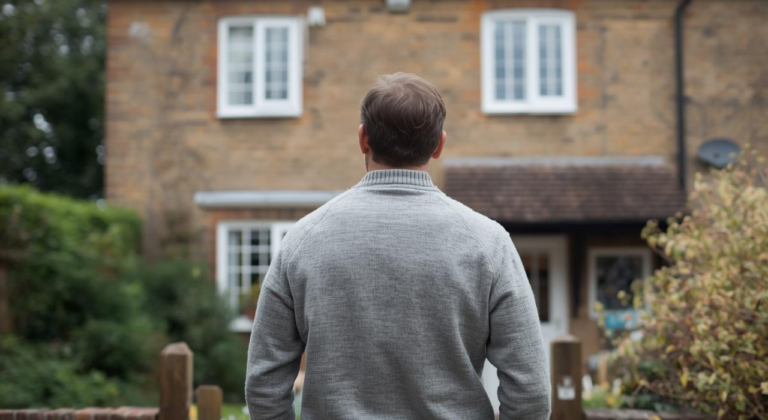
If you, like many other folk, live in a period property in the UK, it is very likely to have some form of render on the existing walls. If it is aged and worn out, it will need removing and/or replacing.
For dried out render you will need to use more traditional tools to take it off. You can scrape the render off a surface with a chisel and hammer. You can also use specialist cutting equipment and machines if you have access to them. The issue with this is you may have to repair the surface afterwards if you’ve chipped it, and re-render over the top.
[amazon_link asins=’B01MTCFQZU’ template=’ProductAd’ store=’the0c3-21′ marketplace=’UK’ link_id=’2816239e-113f-45bc-85b3-0064475c3d04′]Please do not choose this method if the render has dried and spilled onto glass or fragile surfaces. You will be left with marks that are expensive to repair. Repeat what we said above, and use an appropriate liquid solution that is designed for these uses.
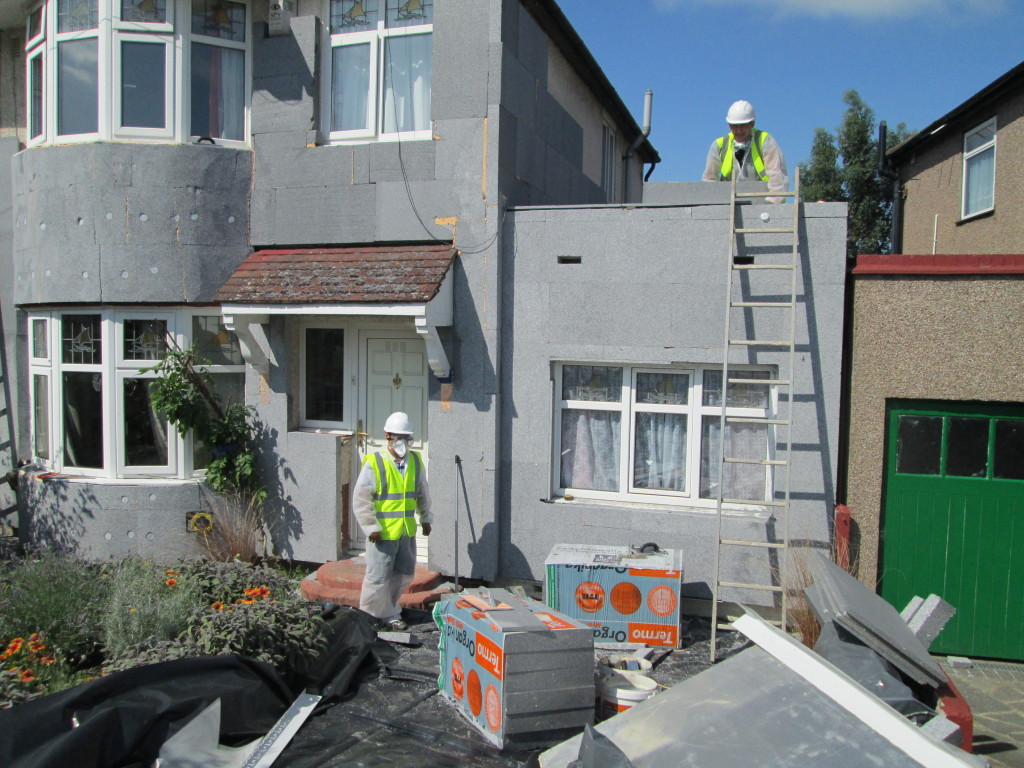
Hide bad render with external wall insulation
We get a lot of calls from people who have moved into properties rendered in a colour or grain they hate, especially if they have pebbledash. If you don’t like the finish, or it’s in a bad state and is flaking off, you should consider getting external wall insulation over the top and this would not just solve the aesthetic issue, but would also make your property much warmer.
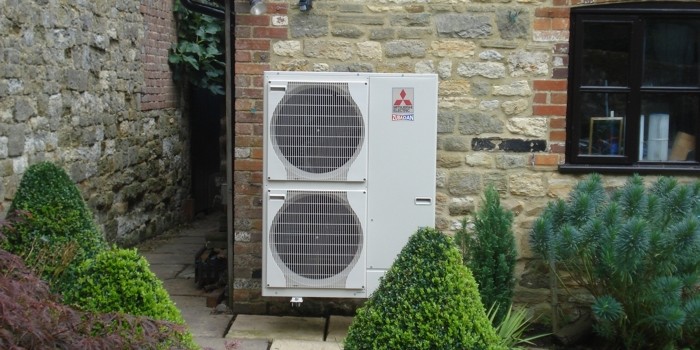
Renders, as the final stage of external wall insulation (EWI), protect the underlying brickwork and prevent penetrating damp. Of course, EWI also makes a huge difference to a building’s warmth and efficiency, cutting energy bills by up to 40%. As well as keeping your home warm, it’ll really smarten up the appearance of your property and make sure it’s watertight too.
Get in touch if you have any questions about render removal, fixing render issues or applying external wall insulation, which is increasingly becoming popular up and down the country.
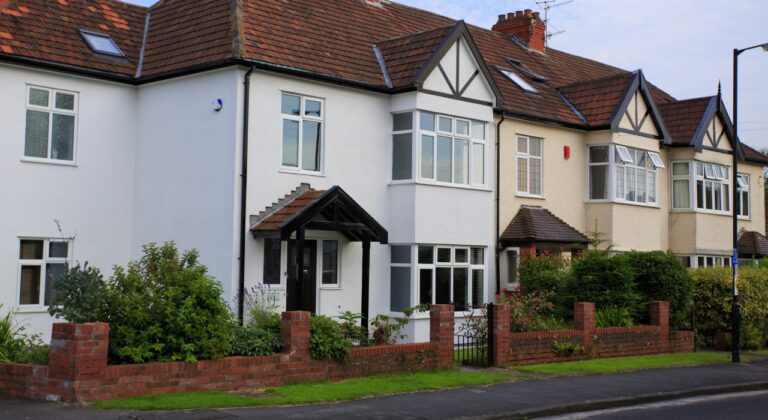
When render looks good, it not only improves the appearance of the property, but can also add value if you are trying to sell or rent it out.