An introduction to loft insulation
Loft Insulation is a cheap & easy to install solution that provides instant benefits by trapping more heat & cutting your gas bill.
Solid Wall Insulation
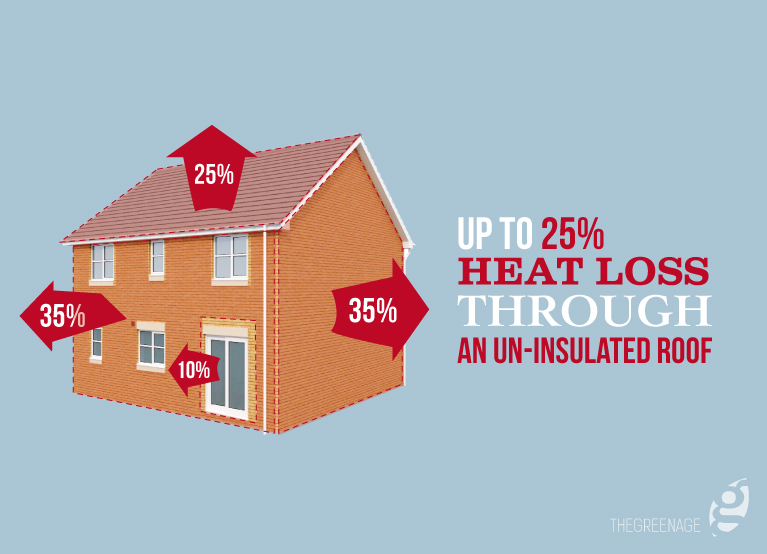
With approximately 35% of heat loss from a home occurring through the walls, insulating your solid walls will help to minimise these losses.
Heating commercial premises with infrared
Using infrared heating in the workplace Much of the heat from the sun arrives on our planet in the form of far infrared radiation. Not to be confused with harmful UV, infrared is the reason we feel heat from the…
Infrared Heating Panels
Infrared heating panels radiate heat in a similar way to the sun, via infrared. This is a more effective form of heating than traditional convection heat.
Meeting your heating requirements with infrared panels

Meeting your heating requirements with infrared heating panels On the whole, an infrared heating panel will heat one square metre of space for every 50 Watts of power supplied to the unit. Take an 800-Watt panel for example this will…
Draught proofing windows

Do my windows need draught-proofing? Not all windows need to be draught-proofed. Double or triple glazed windows installed since 2002 should be sufficiently well-built and installed so as not to require any. Older double glazing and single glazed windows can be…
Why render your home?
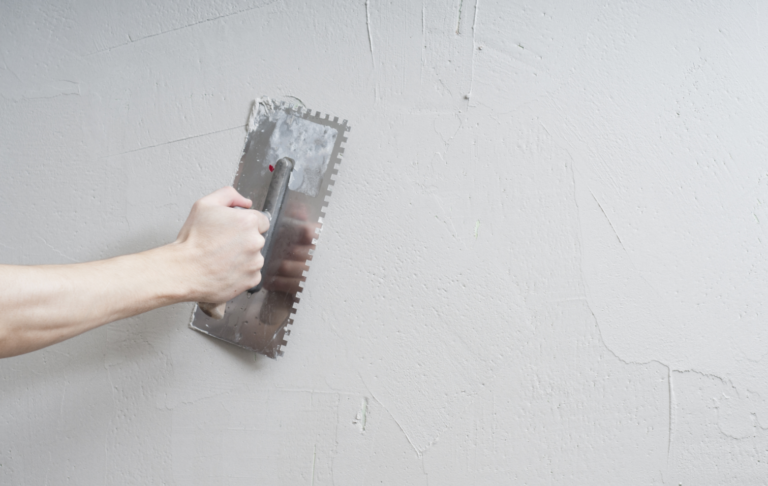
There are plenty of houses in the UK that have been rendered, so its not that hard to work out that rendering can be really beneficial for a property. It can be a little confusing to look at your rendering…
Insulating Your Loft Joists: a Step-by-Step Guide
As we mentioned in our Introduction, there are two main ways to insulate your loft: one is via the rafters and the other is by insulating your joists. Insulating the joists is often the easier of the options and especially makes…
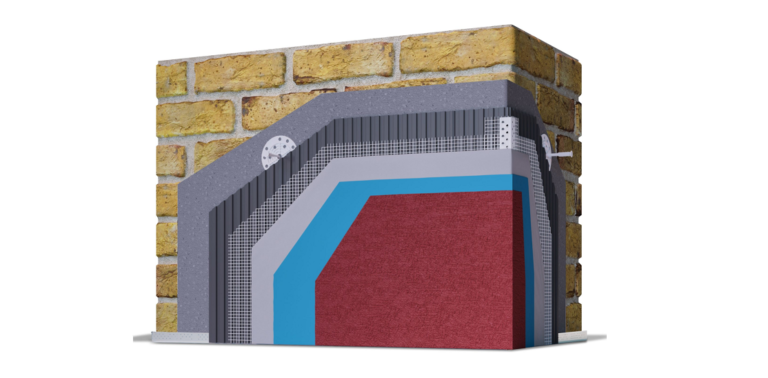
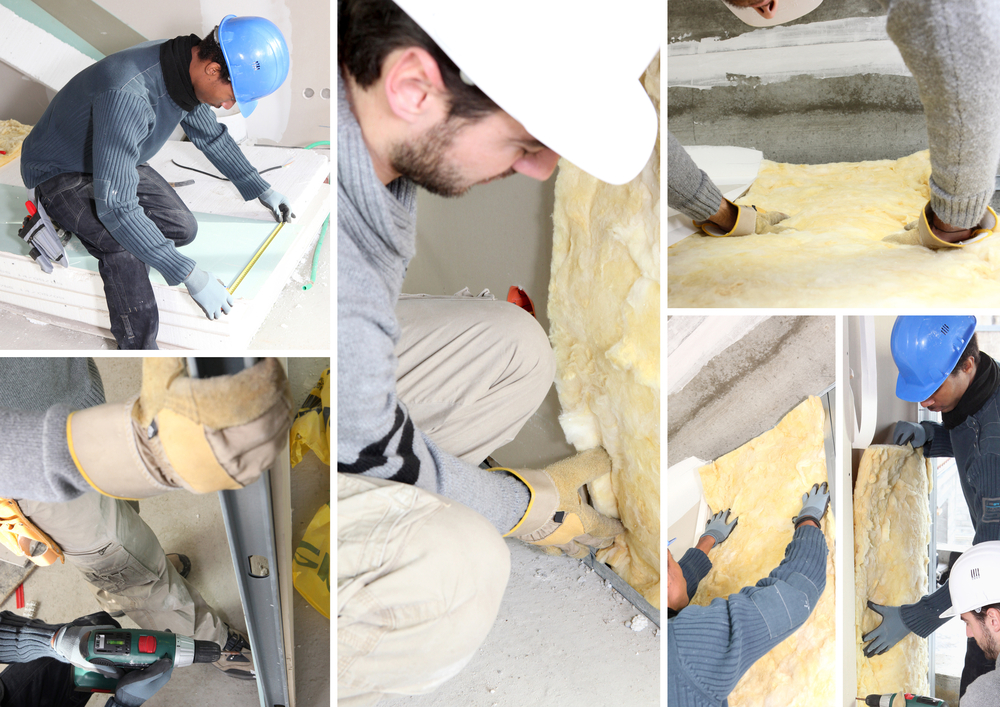
Internal Solid Wall Insulation
Why get internal wall insulation? Internal wall insulation is a great option in solid wall properties where external insulation is not practical or permissible; for example in listed buildings, conservation areas, where you wish to preserve the look of the…
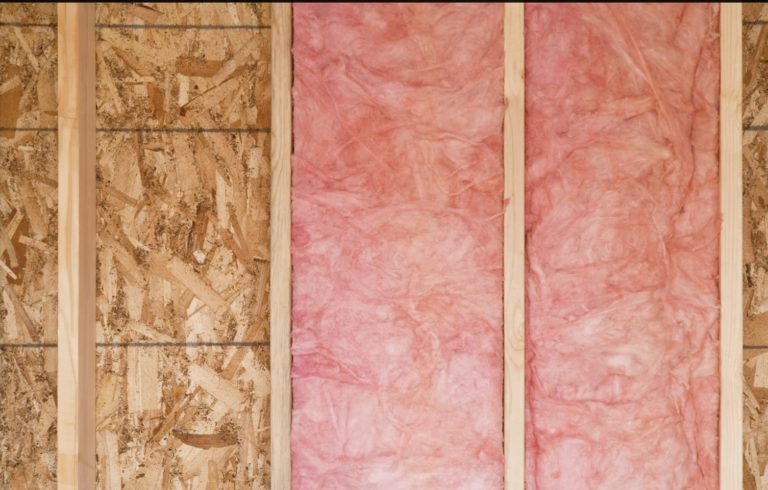
Cavity Wall Insulation

Cavity wall insulation (where appropriate) can radically decrease heat loss through walls during winter, however it requires professional installation.