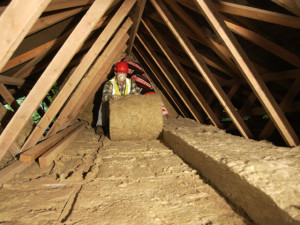
An introduction to loft insulation

Loft Insulation is a cheap & easy to install solution that provides instant benefits by trapping more heat & cutting your gas bill.
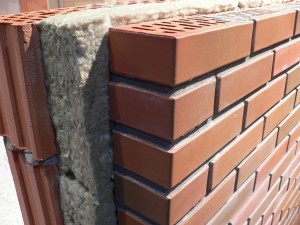
Solid Wall Insulation
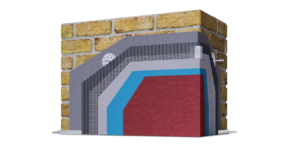
With approximately 35% of heat loss from a home occurring through the walls, insulating your solid walls will help to minimise these losses.
Cavity Wall Insulation
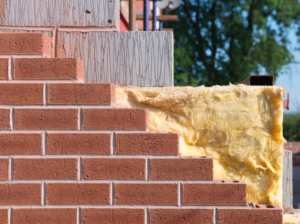
Cavity wall insulation (where appropriate) can radically decrease heat loss through walls during winter, however it requires professional installation.
Water Tank and Pipe Insulation
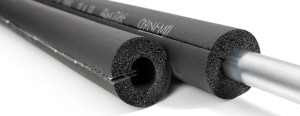
Insulating both your hot water tank and the piping around your home could save you almost £50 a year on your energy bills and is a very simple DIY job.
Introduction to floor insulation

Approximately 15% of heat in the home is lost through the floor, so insulating the floors of your home is a fantastic way to increase energy efficiency.
Can too much insulation cause overheating?
Last summer the Daily Mail published an article claiming that too much insulation installed under the could cause overheating of homes and endanger old people. Since we are now approaching warmer weather (or what passes for warm weather in the…
Cavity walls and the benefits of insulating them
Cavity wall insulation has been around for years, and it remains one of the best ways to help reduce your energy bills. So we at TheGreenAge thought that we should give you a quick guide on what you need to…
What is the Green Homes Grant?

The Green Deal is a new Government initiative to help increase the energy efficiency of homes across the UK, with no upfront costs for the households.
Home Energy Efficiency Misconceptions

Continuing on from the blog last week, discussing some of the early feedback on the Green Deal, I want to look at some of the misconceptions people can have when considering energy efficiency improvements. These can stem from a variety…
The Green Deal: Customer Feedback So Far

Having done a number of Green Deal assessments to date, it has been interesting to get the customer feedback on how they potentially see the scheme helping them increase the energy efficiency of their home and also go over some…